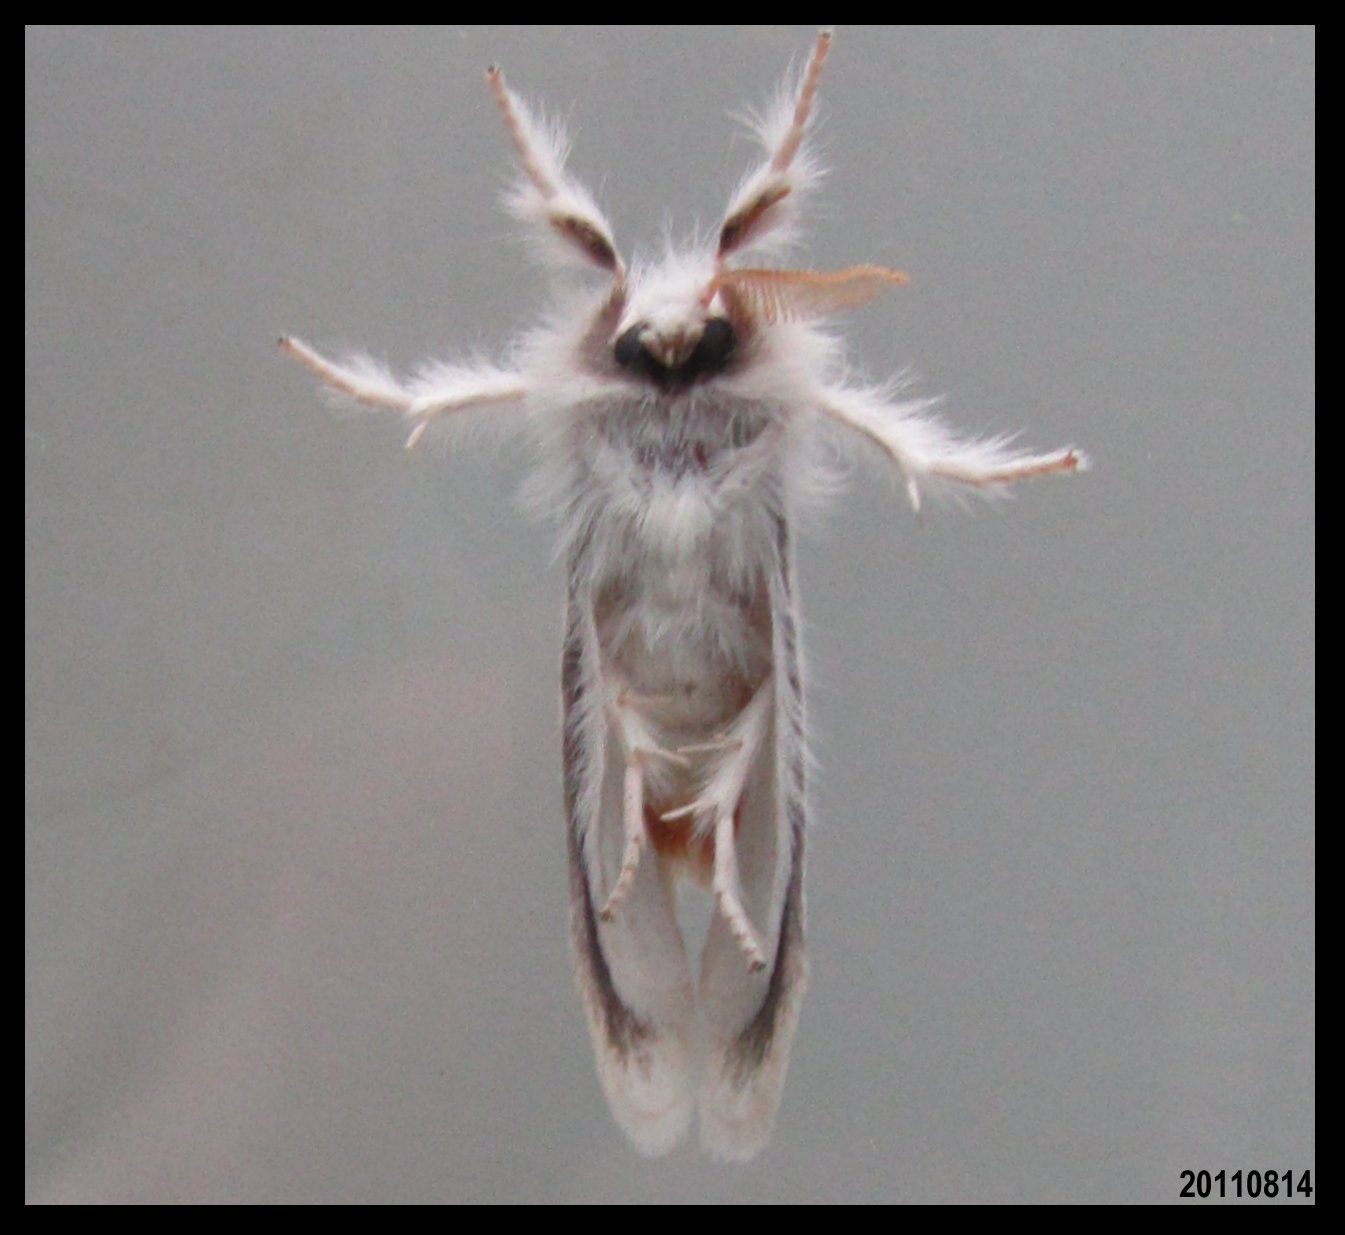
It doesn’t take long to realise that if you want to become a successful Moth recorder it is good policy to take a shot of all subjects where they have rested prior to attempting to pot them.
There are often escapees whilst trying to do this as your intention is not to damage or harm the moth in the process and they do not like to be disturbed.
I decided from the start to cover the fence panel and floor of the moth house with the same material as used for the pot covers.
The idea here was that if I only get one shot then at least it will be on the same colour background and could be used for our records and identification.
Unfortunately, not all moths settle on the fence panel or the floor but on the clear PVC plastic blade which makes up the sides of the moth house.
This is where I began to have problems as trying to focus the camera on such a moth proved to be rather tasking with the results often poor making any chance of identification difficult and the pictures themselves unusable.
One way round this was to ask the wife to hold the grey board I had made for this purpose, behind the moth, so I could take a clearer picture again with a view that the colour would be the same as used for our site records.
This approach was more successful, and it dawned on me that if I could perfect this approach I may also be able to take pictures of the underside of my quarry to include on the site.
As I could find very few examples of the underside of moths on line it motivated me to pursue this further as if of no great use for identifications it creates and interesting shot showing the anatomy of the insect
I headed straight for Grumpy’s shed and began building a ‘Moth Underside Shot Taker’ (MUST) which, to this day, has become a must have if you want to take this type of picture.

The idea is that after having taken and verified all other shots of a subject, whilst the moth is still settled, tap it onto the glass, slide the glass vertically into the frame and hope that the moth remains there long enough to take a picture of its underside.
If it escapes during this process it not a big problem as the next step would be to release the moth anyway.
On reflection however although the theory is sound it is not without problems with relation to the quality of the shot due to the subject of this post.
Reflections, although pleasing for some photographers, poses a similar problem to those of shadows for the type of displays I seek to produce.

For instance, I struggled on one occasion to understand the reason for a pinkish tinge on the background until I realised that it might be due to the bright red tee shirt I was wearing.
To eliminate reflections, the same methodology as with shadows applies by blocking out the sunlight with your torso wearing, of course, something that blends in better than bright red.
Also, the MUST only works with moths capable of resting vertically or upside down on a piece of glass which is not always the case for example Hawkmoths.
These can be tricky and attempts such as lying on the lawn upside down with your camera whilst the wife holds a piece of glass in one hand and the other hovering above with a grey card only gleans poor results and can become uncomfortable if the grass is wet.
Trying to take underside shots in the field is also all but impossible unless you are prepared to take a MUST with you which is impractical really.
One successful trip to Ireland recently yielded some pleasing results as the back door of the cottage was double glazed and faced the east meaning that if the moth would adopt a pose on the inside on the glass and the wife held to grey card behind it we were able to get some usable examples.
My ability to take quality underside shots has improved over the years and will be the subject of a future post hopefully.